

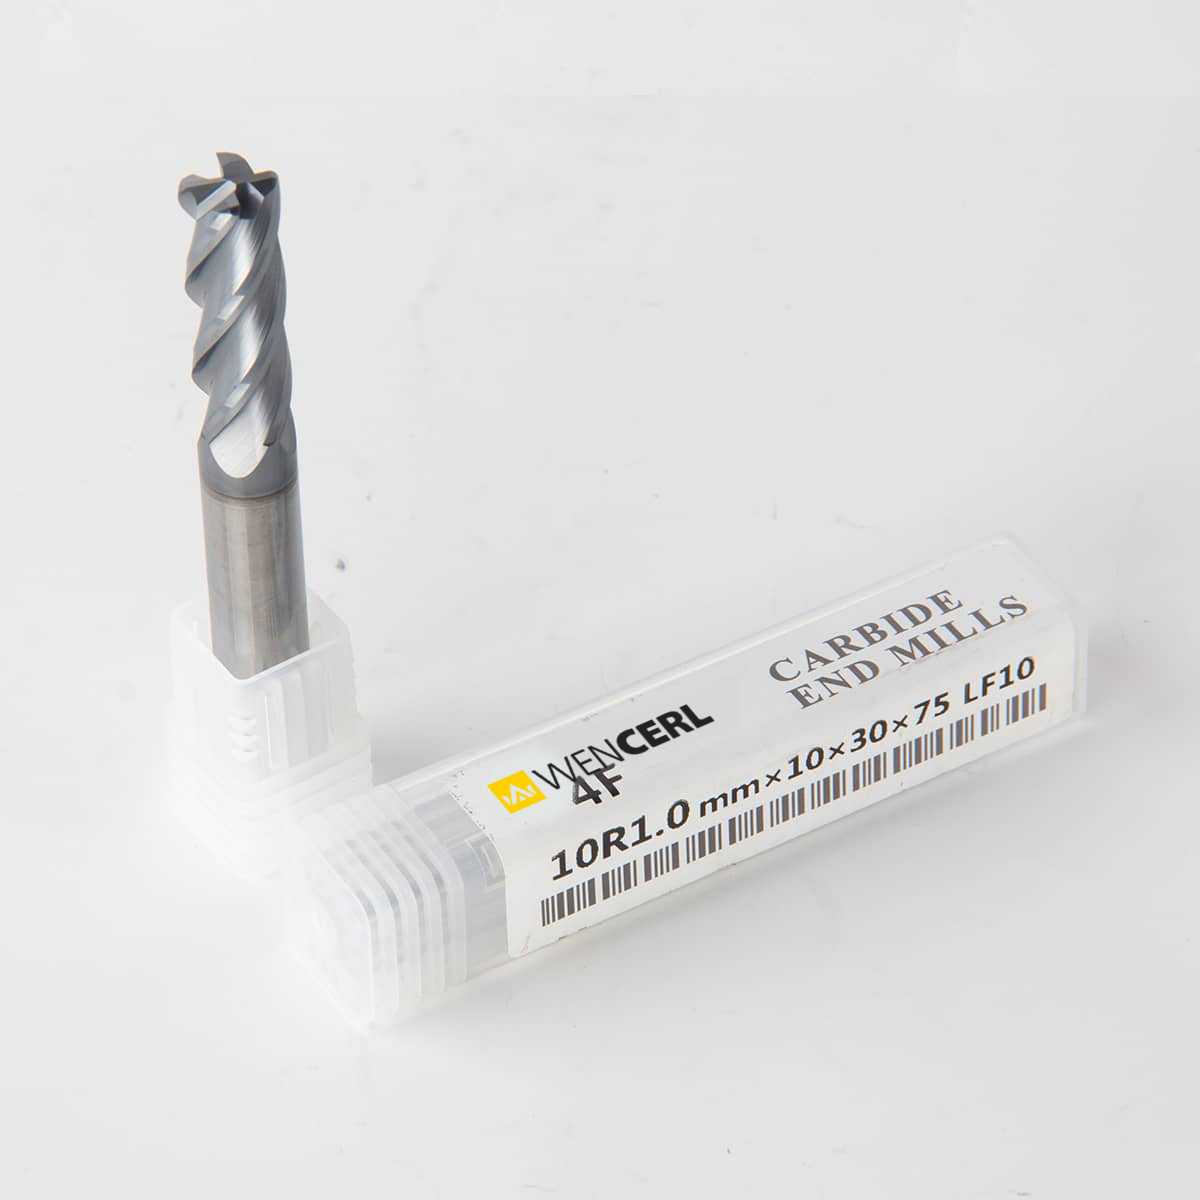
Proper maintenance of milling cutters is essential for extending their lifespan, ensuring consistent machining quality, and reducing production costs. Here are some comprehensive maintenance methods that every machinist should know.Pre – use Inspection and PreparationBefore using a milling cutter, conduct a thorough inspection. Check the cutting edges for any signs of damage, such as chips, nicks, or dullness. Even minor imperfections can affect the cutting performance and lead to premature wear. Use a magnifying glass or a microscope for a detailed examination if necessary. Additionally, inspect the cutter’s coating (if applicable). A damaged coating may no longer provide the intended protection and performance enhancement. Ensure that the cutter is clean and free from any contaminants. Wipe it with a clean, dry cloth or use a suitable cleaning solvent to remove dust, oil, or residues left from previous storage or handling. Also, verify that the cutter is properly matched to the machine tool and the machining task at hand. Using an inappropriate cutter can subject it to unnecessary stress and accelerate wear.During – use PrecautionsDuring the machining process, take several precautions to protect the milling cutter. First, adhere to the recommended cutting parameters provided by the manufacturer. Exceeding the specified cutting speed, feed rate, or depth of cut can generate excessive heat and forces, causing rapid wear and potential damage to the cutter. Use proper coolant or lubricant according to the material being machined and the machining conditions. Coolant helps to dissipate heat, reduce friction, and flush away chips, which in turn protects the cutting edges. Ensure that the coolant is clean and properly filtered to prevent any abrasive particles from reaching the cutter. Monitor the cutting process closely. Listen for any abnormal noises or vibrations, as these could be early signs of problems. If such issues occur, stop the machining immediately and investigate the cause to avoid further damage to the cutter.Post – use Cleaning and InspectionAfter each use, clean the milling cutter thoroughly. Remove all chips, coolant residues, and debris from the flutes, cutting edges, and the shank. Use a soft – bristle brush, compressed air, or a combination of both for effective cleaning. For stubborn residues, a mild cleaning solution can be used, but make sure to rinse the cutter thoroughly with clean water afterward and dry it completely to prevent rusting. Once clean, conduct a detailed inspection again. Check for any new signs of wear, damage, or coating degradation. Measure the dimensions of the cutter if possible to detect any changes that may affect its performance in future operations. If any issues are found, decide whether the cutter needs to be re – sharpened, repaired, or replaced.

StorageProper storage is crucial for maintaining the condition of milling cutters. Store them in a clean, dry, and dust – free environment. Specialized tool storage cabinets or racks are ideal, as they can protect the cutters from physical damage and corrosion. Avoid storing cutters in direct contact with each other, as this can cause scratching and chipping of the cutting edges. Use protective sleeves, caps, or holders for individual cutters if available. Additionally, label the stored cutters clearly with relevant information such as the type, size, and material, making it easier to identify and select the right cutter for future operations.In conclusion, following these maintenance methods can significantly extend the life of milling cutters and ensure reliable machining performance. By taking the time to inspect, clean, sharpen, and store the cutters properly, machinists can improve productivity, reduce costs, and achieve high – quality machining results in the long run.