

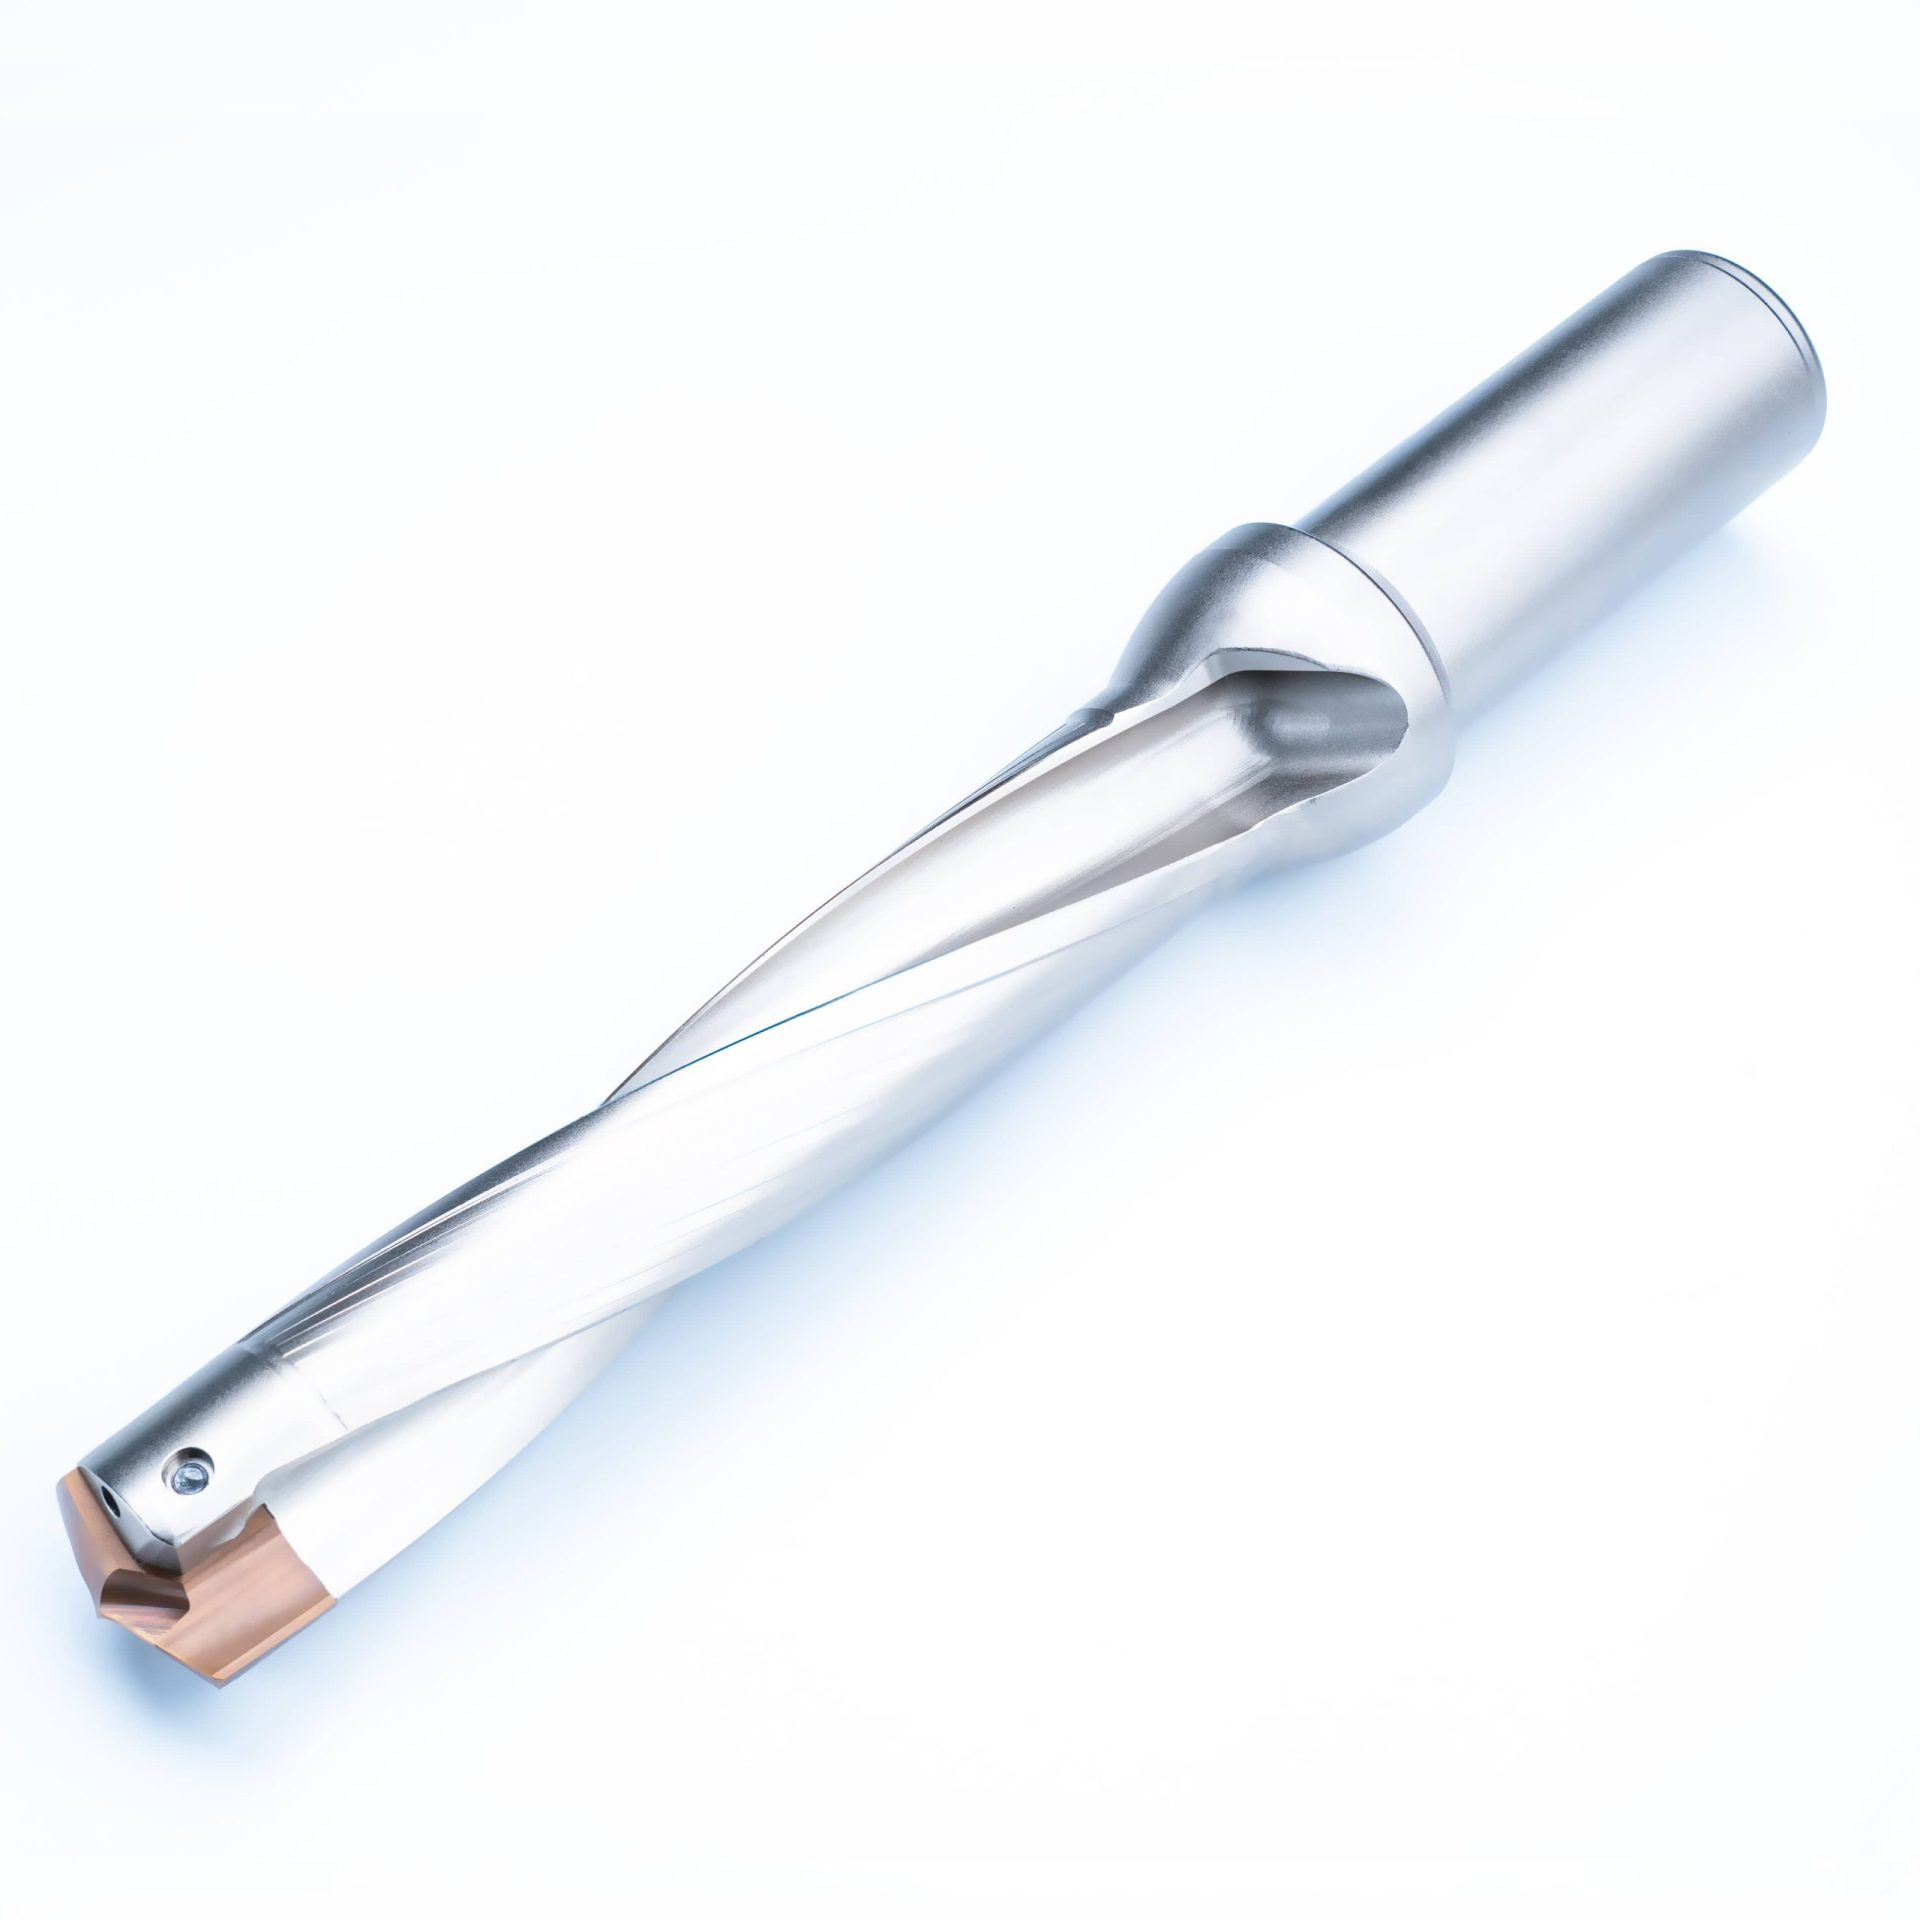
Maintaining the JCD Drill Bit 10D properly is essential for ensuring its longevity, performance, and the quality of your drilling operations. Here are some comprehensive guidelines to help you keep this drill bit in top – notch condition.Pre – use InspectionBefore using the JCD Drill Bit 10D, conduct a thorough visual inspection. Check the cutting edges for any signs of damage, such as chips, nicks, or dullness. Even minor imperfections can affect the drilling performance and may lead to premature wear or breakage. Examine the flute channels to ensure they are clean and free from any debris, dust, or residues left from previous use or storage. A blocked flute can impede chip evacuation, causing overheating and potential damage to the drill bit. Additionally, verify the shank of the drill bit for any cracks, bends, or deformations. A damaged shank can result in poor tool – holder engagement, leading to vibrations and inaccurate drilling. If you notice any issues during the inspection, address them immediately, either by sharpening the bit if it’s slightly dull or replacing it if the damage is severe.During – use PrecautionsWhen using the JCD Drill Bit 10D, adhere strictly to the recommended drilling parameters provided by the manufacturer. Using excessive speed, feed rate, or applying too much pressure can generate excessive heat and stress on the drill bit, accelerating wear and increasing the risk of breakage. Different materials require different drilling speeds and feeds; for example, when drilling soft metals like aluminum, a higher speed with a moderate feed rate is usually suitable, while for harder materials such as stainless steel, a lower speed and a more conservative feed rate are advisable. Use appropriate coolant or lubricant during the drilling process. Coolant helps to dissipate heat, reduce friction, and flush away chips, which in turn protects the cutting edges and extends the life of the drill bit. Make sure the coolant is clean and properly filtered to prevent any abrasive particles from reaching the drill bit. Monitor the drilling process closely. Listen for any abnormal noises or vibrations, as these could be early signs of problems. If you encounter such issues, stop the operation immediately and investigate the cause. It could be due to a misaligned workpiece, a dull drill bit, or incorrect drilling parameters.Post – use CleaningAfter each use, clean the JCD Drill Bit 10D thoroughly. Remove all chips, coolant residues, and debris from the flute channels, cutting edges, and the shank. You can use a soft – bristle brush, compressed air, or a combination of both for effective cleaning. For stubborn residues, a mild cleaning solution can be used, but make sure to rinse the drill bit thoroughly with clean water afterward and dry it completely to prevent rusting. Drying the drill bit properly is crucial, especially if it’s made of steel or has metal components, as moisture can cause corrosion over time. You can use a clean, dry cloth or let it air – dry in a well – ventilated area.Sharpening and ReconditioningRegularly check the sharpness of the JCD Drill Bit 10D. As the cutting edges wear down with use, the drilling performance will decline. When you notice that the drill bit is not cutting as efficiently as before, it’s time to consider sharpening it. However, sharpening should be done with care, following the manufacturer’s guidelines or by a professional if possible. Improper sharpening can change the geometry of the drill bit, affecting its performance and potentially shortening its lifespan. Some drill bits may also be reconditioned, such as having the coating reapplied if it has worn off, but this usually requires specialized equipment and expertise.StorageProper storage is key to maintaining the condition of the JCD Drill Bit 10D. Store it in a clean, dry, and dust – free environment. Specialized tool storage cabinets or racks are ideal, as they can protect the drill bit from physical damage and corrosion. Avoid storing the drill bit in direct contact with other tools or objects, as this can cause scratching and chipping of the cutting edges. Use protective sleeves, caps, or holders for individual drill bits if available. Label the stored drill bit clearly with relevant information such as its type, size, and any specific usage notes, making it easier to identify and select the right bit for future operations.
Contact us:[email protected]