

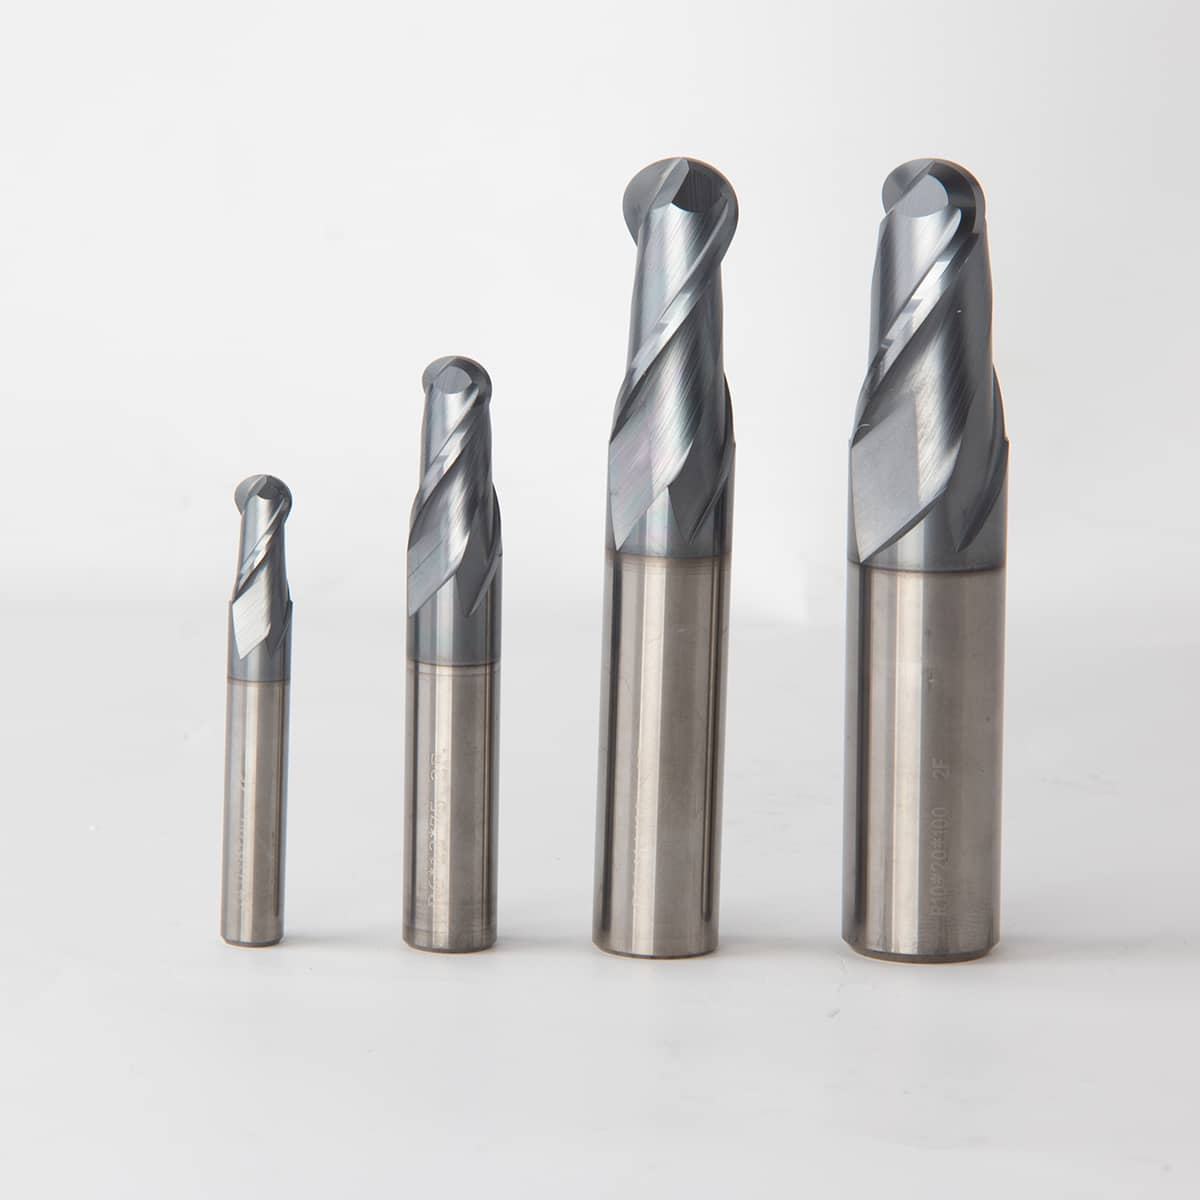
When milling cutters vibrate during machining, it can lead to poor surface finish, reduced dimensional accuracy, and even premature tool failure. Understanding the causes and knowing the appropriate solutions is crucial for maintaining efficient and high – quality machining operations. Here’s a comprehensive guide on what to do when faced with milling cutter vibration.Check the Tool ItselfFirst, inspect the milling cutter for any signs of damage or wear. Chips on the cutting edge, uneven wear, or a damaged coating can disrupt the cutting process and cause vibrations. If you notice such issues, it might be necessary to re – sharpen the cutter or replace it. Additionally, ensure that the cutter is properly installed in the tool holder. A loose or misaligned cutter can cause significant vibrations. Check the clamping mechanism of the tool holder to make sure it is tightened to the recommended torque. Using a torque wrench can help ensure consistent and correct clamping force. Also, consider the balance of the cutter. An unbalanced milling cutter, especially at high speeds, can generate vibrations. Some advanced cutters come with built – in balancing features, but if yours doesn’t, you may need to have it balanced by a professional service.

Evaluate the WorkpieceThe workpiece itself can be a source of vibration. Check the rigidity of the workpiece. If it is not securely clamped or has a weak structure, it may vibrate during machining. Make sure the workpiece is firmly held in place using appropriate fixtures and clamps. Consider using additional support structures, such as v – blocks or angle plates, to increase the rigidity of the workpiece. Also, analyze the material properties of the workpiece. Some materials, like those with inconsistent hardness or grain structures, can cause vibrations during cutting. Adjust the cutting parameters, such as cutting speed and feed rate, according to the material’s characteristics. For example, reducing the cutting speed when machining a hard and brittle material can help minimize vibrations.Examine the Machine ToolThe condition and setup of the machine tool play a vital role in preventing cutter vibrations. Check the spindle for any signs of wear or damage. A worn – out spindle can cause excessive play, leading to vibrations. Inspect the bearings and lubrication system of the spindle regularly and replace any worn components as needed. Also, ensure that the machine’s guideways are clean and properly lubricated. Rough or dirty guideways can cause uneven movement of the machine’s axes, resulting in vibrations. Additionally, review the machine’s stability. If the machine is not properly leveled or anchored, it can vibrate during operation. Use a leveling bubble and appropriate anchoring devices to ensure the machine is stable.Adjust Cutting ParametersModifying the cutting parameters can often resolve vibration issues. If the cutting speed is too high, it can cause the cutter to resonate, leading to vibrations. Try reducing the cutting speed gradually to find the optimal range where vibrations are minimized. Similarly, the feed rate can impact cutter vibrations. A too – high feed rate can overload the cutter and cause it to vibrate. Decrease the feed rate to a level that allows for smooth cutting without excessive forces. The depth of cut also matters. A large depth of cut can increase the cutting forces and the likelihood of vibrations. Consider reducing the depth of cut and increasing the number of passes if necessary. However, be aware that this may increase the overall machining time, so a balance needs to be struck.

Consider Tool Design and GeometryIn some cases, the design and geometry of the milling cutter can contribute to vibrations. For example, a cutter with too many flutes may not be suitable for certain materials or cutting conditions, as it can increase the cutting forces and the chance of vibrations. Select a cutter with an appropriate number of flutes based on the material and the machining requirements. Additionally, the cutter’s rake angle and relief angle can affect its cutting performance and vibration tendency. Tools with a more positive rake angle generally generate lower cutting forces, which may help reduce vibrations when machining softer materials. On the other hand, for harder materials, a cutter with a more suitable negative rake angle might be needed to maintain a strong cutting edge while minimizing vibrations through optimized force distribution.In conclusion, when milling cutters vibrate, a systematic approach to identifying the root cause and implementing the appropriate solutions is essential. By carefully checking the tool, workpiece, machine tool, adjusting cutting parameters, and considering tool design, machinists can effectively reduce or eliminate cutter vibrations, ensuring smooth machining operations, high – quality finished products, and extended tool life.
Contact us:[email protected]