

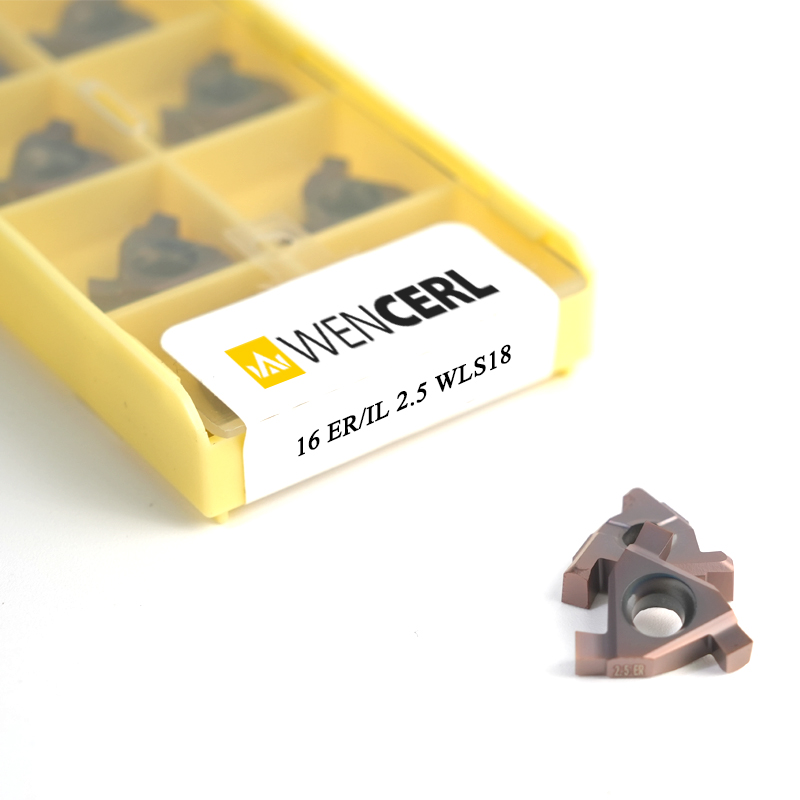
Installing thread milling inserts correctly is crucial for achieving accurate thread profiles, ensuring machining efficiency, and extending the lifespan of both the inserts and the machining equipment. Here is a comprehensive guide on the proper installation process of thread milling inserts.Pre – installation PreparationBefore starting the installation, thorough preparation is essential. First and foremost, carefully read the manufacturer’s instructions and guidelines for the specific thread milling inserts and the corresponding tool holder. Different inserts and holders may have unique installation requirements, and understanding these details helps avoid errors. Next, ensure that the machining area is clean and free of debris. Use compressed air or a clean brush to remove any chips, dust, or coolant residues from the tool holder pocket and the insert itself. This is important because even a tiny piece of debris can cause misalignment during installation, leading to poor cutting performance and potential damage to the insert or the holder. Additionally, check the insert for any signs of damage, such as cracks, chipped edges, or excessive wear. Using a damaged insert can not only affect the quality of the threads but also pose a safety risk during machining.Installation ProcessWhen installing the thread milling insert, start by aligning it with the tool holder pocket. Most thread milling inserts have specific alignment features, such as notches, keys, or markings, which must match precisely with the corresponding features on the tool holder. Gently place the insert into the pocket, ensuring that it seats fully and evenly. Avoid applying excessive force during this step, as it may cause the insert to be damaged or misaligned. Once the insert is in place, use the appropriate fastening mechanism, which is usually screws or clamping levers, to secure it firmly. When tightening the screws, follow the recommended torque values provided by the manufacturer. Over – tightening the screws can distort the insert or damage the tool holder, while under – tightening may result in the insert coming loose during machining. If using clamping levers, make sure they are properly engaged and tightened to hold the insert securely in position.

Post – installation ChecksAfter installing the thread milling insert, several checks should be carried out to ensure its proper installation. Visually inspect the insert to confirm that it is correctly seated in the tool holder and that there are no gaps or misalignments. Use a magnifying glass if necessary to examine the installation closely. Then, perform a test run on the machining equipment at a low speed. Observe the operation of the insert during this test run, looking for any signs of vibration, abnormal noise, or instability. Vibration can indicate that the insert is not properly installed or balanced, which may lead to poor thread quality and premature tool wear. If any issues are detected during the test run, immediately stop the machine and re – examine the installation to identify and correct the problem. Finally, measure the installed insert’s position and dimensions to ensure that it meets the required specifications for the machining operation. This includes checking the height, radial position, and orientation of the insert, as these factors can significantly impact the accuracy of the threads being milled.

In conclusion, the installation of thread milling inserts requires careful attention to detail at every step, from pre – installation preparation to post – installation checks. By following the proper procedures and guidelines, machinists can ensure that the thread milling inserts are installed correctly, enabling them to achieve high – quality thread machining results, improve machining efficiency, and safeguard the integrity of the machining equipment. Whether you are a seasoned professional or a novice in the machining field, adhering to these installation best practices is key to successful thread milling operations.
Contact us:[email protected]